Welcome to the Poser - OFFICIAL Forum
Forum Coordinators: RedPhantom
Poser - OFFICIAL F.A.Q (Last Updated: 2024 Apr 15 3:49 pm)

Subject: Help wanted: TEXTURING


What are you hoping to accomplish? I'm taking a look at your Nun outfit and the texturing seems pretty straightforward procedure colors. Texturing would be very basic without UVMapping since you have already assigned material zones. This outfit appears very well made, I converted it to a conforming outfit for LaFemma and it holds up well through some basic bends. I like what I see. I'm not sure if I can help but I'll play with it.
there are for a period piece, 1700s France, when the Marquis De Sade was running amok (hint-hint). Therefore, at least the corsets could use some proper texturing:
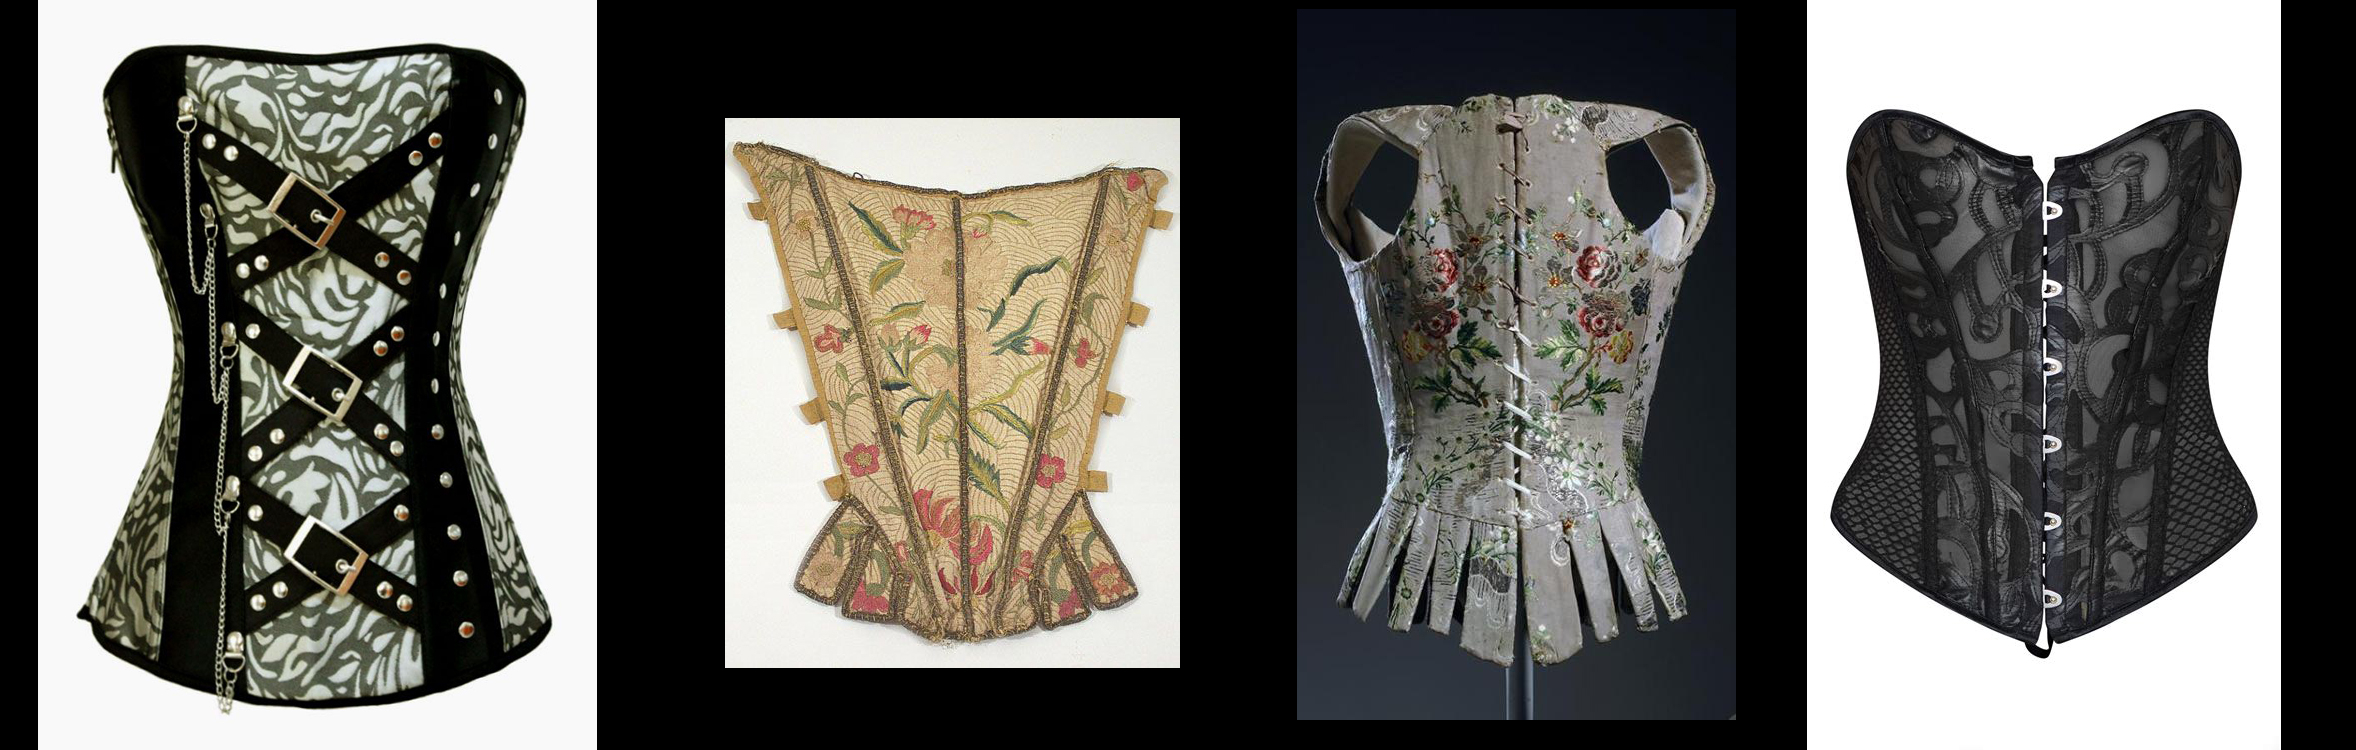
Something that would be hard to accomplish by coloring individual polygons. The only procedural texture that works (as tested so far) is the stock velvet because it has no patterns. Gotta look around in the store for some procedural cloth stuff for Superfly.
Otherwise, please lemme know if you have any luck with converting the nun's gloves and leggings to conforming, so that simulating those will not be necessary for every scene. That would be a huge time saver, especially since they tend to "freak out" when the elbows and knees are bent too much.
Forgot to include a link to one of these outfits in the Freebie section for those who wanna experiment: Nun's outfit
Eronik posted at 6:06AM Thu, 06 May 2021 - #4418522
Forgot to include a link to one of these outfits in the Freebie section for those who wanna experiment: Nun's outfit
I tried to download your product and open the dress in Substance painter. So you can see this sort of an tutorial which can help you get started :)
I have marked the stuff that you need to be aware of, so from top to bottom. This is just something you do whenever you start a new project. And if im not mistaken most of the setting will stay as default after you have done it once, except for the resolution. But most of the stuff you can change even while working, which is really nice.

Template: Is how SP will handle your project, so "Selecting the Metal roughness alpha blend allow it to show opacity" and it will be a PBR shader. Which mean that you will get all the basic maps you need for Iray or Superfly.
File: Here you choose select and get you OBJ file.
Resolution: This is simply at which resolution SP will display your project, you can always export at any resolution and change is during work as well, so depending on the size of you object its fine to keep it fairly low until you are ready to export, again you can always test during work what the texture looks like at different resolutions. In your case, I would probably go with 2048.
Normal map format: is simply how the normal map is made, for Poser and Daz, Im pretty sure it is DirectX, at least that is what I always use.
Auto unwrap: Check this and SP will automatically Unwrap your mesh, that is probably the best solution for you, so you don't have to do it yourself.
Then you just hit Ok, and SP will Unwrap your mesh.

And eventually you will end up with something like this:
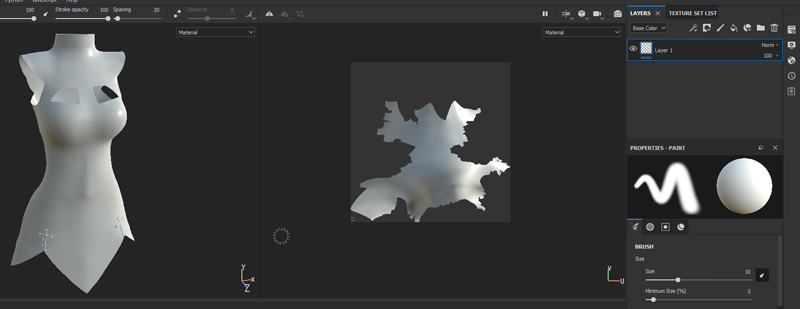
So now you are basically ready to start painting. If you look in the right side you can press the "Texture set list" which will show you all the materials you have added to the model, so these names should be familiar to you.

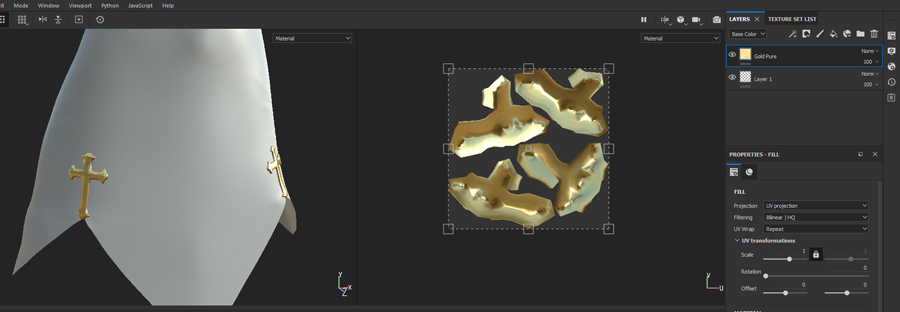
So in this case I have selected the Gold one and switched back to layers and thrown in a Gold material and you can see that it have only applied it to the crosses.
But before you start painting to much, and should probably have added it after you created your project :), because you want to do this every time as well. But on the right side, click the "Texture set settings" button.
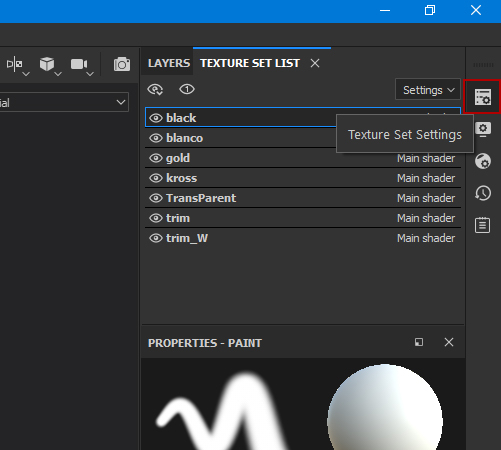
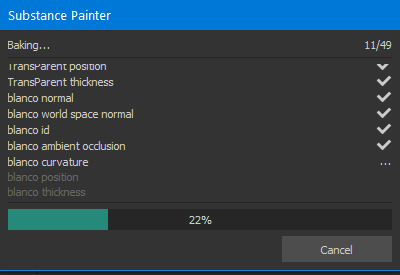
Which will open the settings, if you scroll a bit down you will see the "Bake mesh maps" and again you want to do this every time you make a new project, because SP uses these for a lot of things, you only have to do it once, but you might want to do it again, if you want a higher resolution export. Then you can just do it again, it won't ruin anything. So press the button.

This will open the baking menu, and I have marked the two most important things for now, to just get you started. First one is resolution, probably you want to keep this as the same as the project, so select 2048 here. And finally to increase quality choose 4x4 or higher in the antialiasing, now keep in mind the higher the setting the longer it will take for it to bake the textures. Then you just hit the "Bake selected texture button"

And now SP will start going through all the textures sets and bake a lot of maps, just wait for it to finish and hit ok when done.
Now you are set up and can just paint away like crazy. :)
When you export, and you want to use Iray or Superfly, just make sure that it is set to "PBR Metal, Roughness", Once you get used to it, all that I have shown here will take about 15-30 seconds to do.
Wow 3D-Mobster, thanks for taking the time to write up this tutorial. Mucho appreciated. Got SP downloaded and will give it a go. At least to get the UV mapping figured out, because to learn the art of texturmaping might be a tad more complex. Kinda like telling someone that animation is really easy; you just pose your character a few times, and place them poses on various frames. That's it! Go to it... and the best of luck with that, cos you gonna need it. ;)
Eronik posted at 1:54PM Thu, 06 May 2021 - #4418559
Wow 3D-Mobster, thanks for taking the time to write up this tutorial. Mucho appreciated. Got SP downloaded and will give it a go. At least to get the UV mapping figured out, because to learn the art of texturmaping might be a tad more complex. Kinda like telling someone that animation is really easy; you just pose your character a few times, and place them poses on various frames. That's it! Go to it... and the best of luck with that, cos you gonna need it. ;)
Sorry if I made it sound like that :D Texturing as everything else in 3D is difficult to master. But Substance painter makes it very easy compared to having to make everything from scratch as you would normally have to do :) So I still strongly suggest that you watch tutorials of how to paint and do stuff. However once you pick up on the general workflow, it becomes really fun and obviously much easier and it doesn't actually take that long before you understand the ideas of masking and building textures etc.. It looks complicated, but it really isn't as bad as it looks, before you can make decent looking textures :)
3D-Mobster posted at 3:36PM Thu, 06 May 2021 - #4418574
Sorry if I made it sound like that :D Texturing as everything else in 3D is difficult to master. ...
Oh not at all my friend, just admitting to my lack of texturing skills, but like you say, with a little practice anything becomes easy. Might actually be easier then modeling. Thanks again for the tutorial, you flattened the learning curve a good bit!
Privacy Notice
This site uses cookies to deliver the best experience. Our own cookies make user accounts and other features possible. Third-party cookies are used to display relevant ads and to analyze how Renderosity is used. By using our site, you acknowledge that you have read and understood our Terms of Service, including our Cookie Policy and our Privacy Policy.
Hello texturemap artists!
Got a few custom dynamic outfits that could use an artistic touch for texture mapping:
These are all raw OBJs from Maya, with colors assigned to the polygons for poor man's texturing. It's kind of OK the way they look now, because at least the style is consistent, but if anyone might be interested in raising the quality level for these outfits, we could put them up for sale to compensate for our time & effort.
Thanks for your consideration.